Kitchen Design

Plan a corner worktop with confidence. Learn how to measure, compare materials and choose a practical finish for your kitchen renovation.
Ouvir o artigo
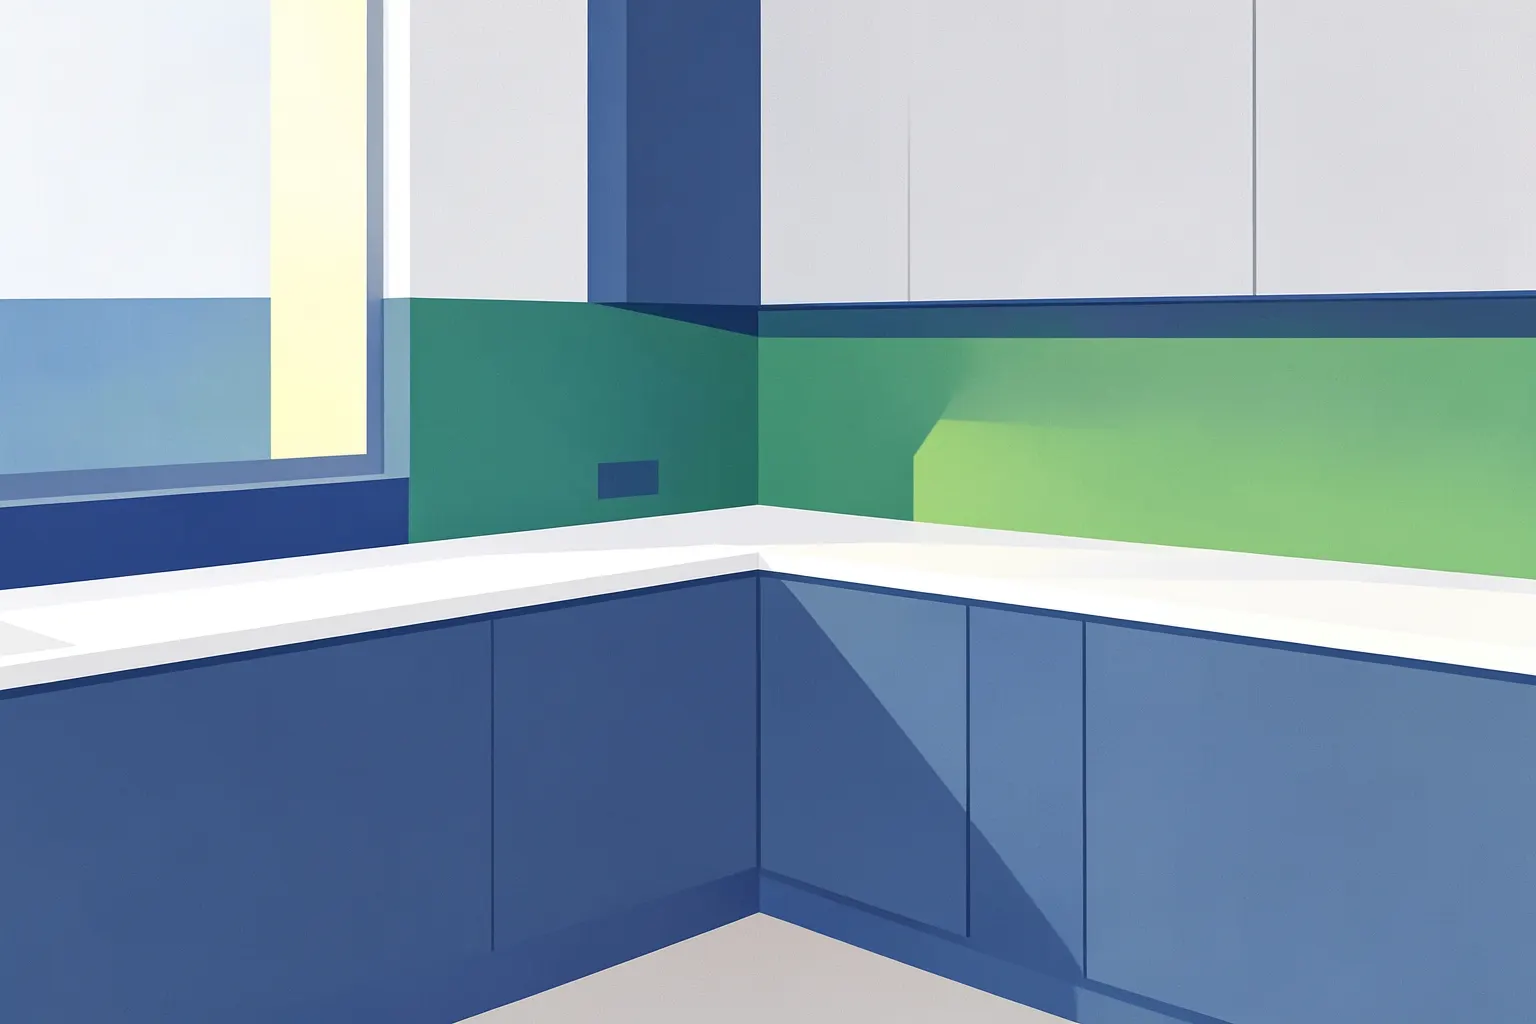
A corner worktop can turn an awkward kitchen junction into a practical, polished workspace. The right layout begins with accurate measurements, suitable materials, and a clear plan for joins and support.
A corner worktop is a kitchen surface shaped or joined to fit where two runs of cabinetry meet, commonly in an L-shaped or U-shaped layout. The best result depends on accurate cabinet measurements, allowance for walls and appliances, careful planning of joins, and a material suited to your cooking habits. Laminate can offer a practical, accessible route, while stainless steel suits a distinctly professional look. Quartz and granite provide durable, made-to-measure surfaces when the design, support and installation are handled precisely. For a renovation, confirm the cabinet position before templating and decide the corner detail before ordering the slab or panels.

A corner worktop is a kitchen work surface designed to continue around a corner, usually where two cabinet runs meet. It may be made as separate sections joined at the corner or fabricated as a shaped piece, depending on the material, access, layout and desired appearance.
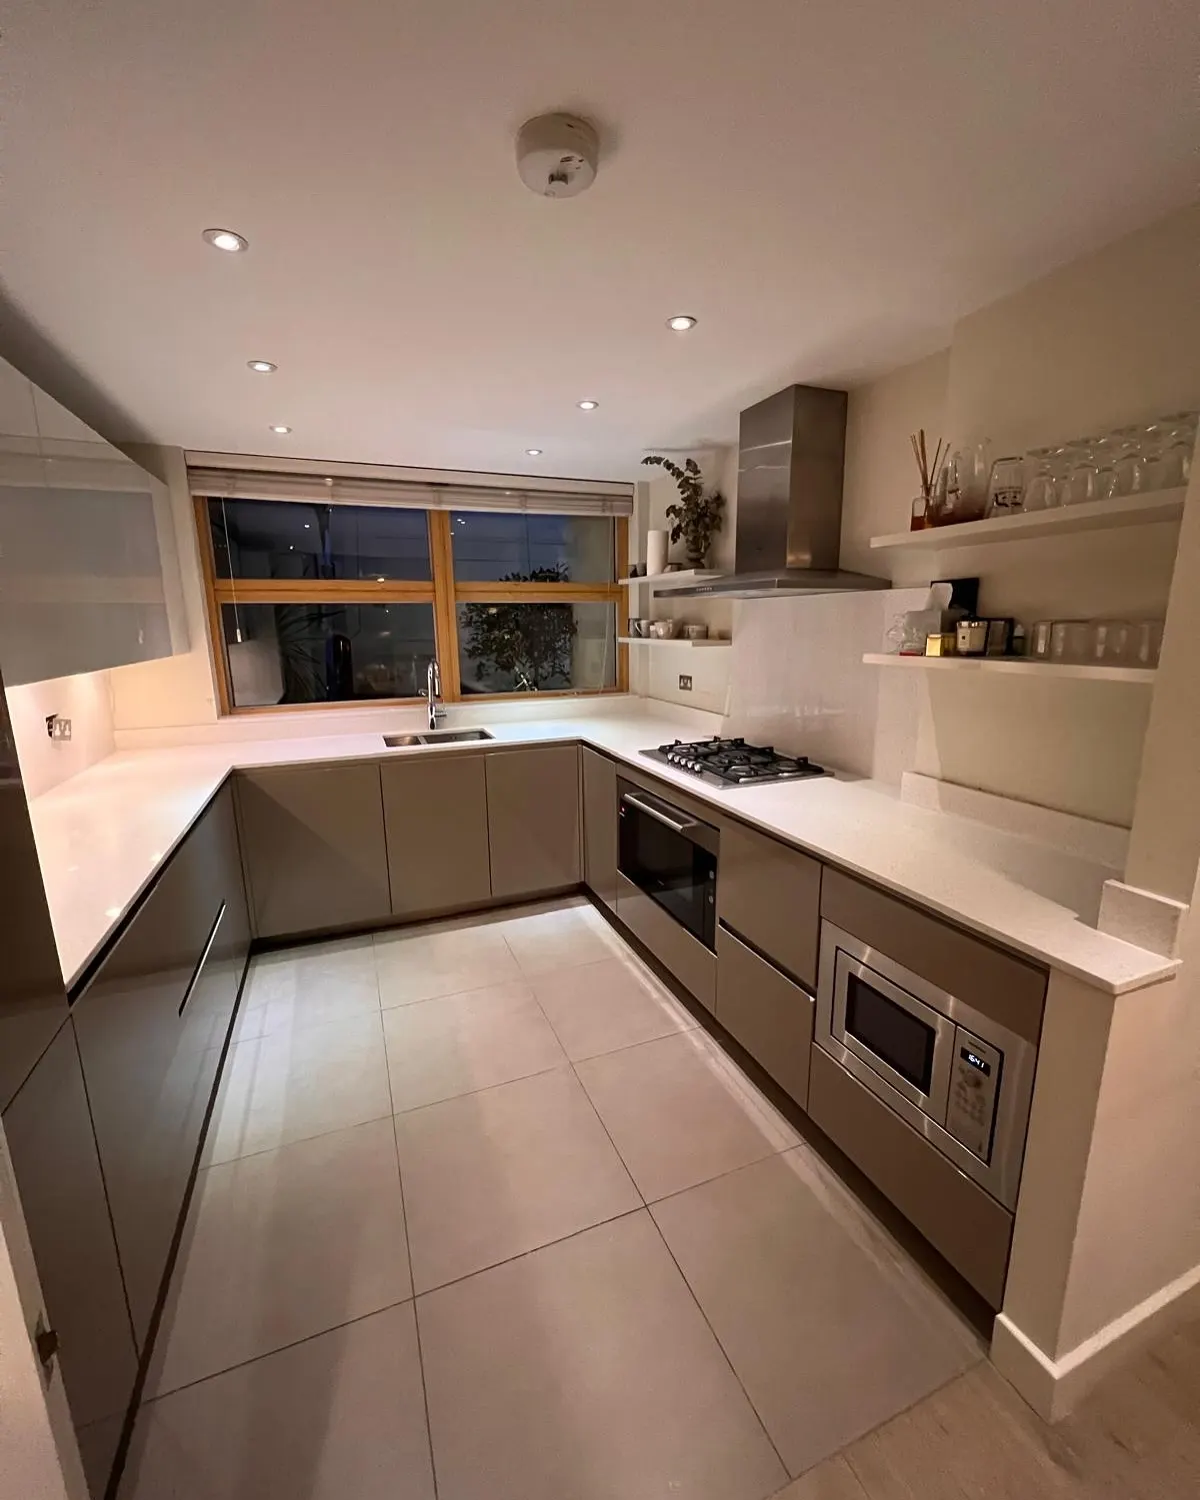
In a typical British kitchen, the corner appears in an L-shaped layout, a U-shaped layout or a run that turns towards a tall housing unit. The worktop needs to follow the cabinet line while leaving room for doors, drawers, appliances, wall irregularities and the selected edge profile. That makes the corner more than a simple measurement exercise. It is a coordination point between cabinetry, plumbing, electrical work and surface fabrication.
A corner can be finished in several ways. A straightforward butt join meets one run against another, while a mitred join creates a more continuous visual line across the angle. A shaped internal corner can also soften the transition and make cleaning easier. The appropriate approach depends on the surface, the layout and how much visual emphasis you want the corner to carry.
The corner should be considered before the cabinets are finally fixed. Small changes to cabinet position can affect the overhang, appliance clearance and join location. At MT Stones, we see the strongest results when the kitchen is treated as one coordinated project rather than a series of isolated measurements. The surface, sink, hob and corner detail should all be discussed together.

A well planned corner worktop makes an L-shaped or U-shaped kitchen easier to use, improves continuity between cabinet runs and helps the available surface feel intentional rather than leftover. It can also create a useful preparation zone close to storage, cooking and washing areas.
The main advantage is continuity. When the surface turns naturally around the room, the kitchen feels more settled and the corner becomes part of the working layout. This is especially useful in compact London kitchens, where every usable section of preparation space matters. A carefully planned corner can support food preparation without forcing the user to work directly beside a sink or hob.
Corners also give a renovation more flexibility. They can accommodate a change in cabinet depth, create a visual break between two zones or carry a different edge detail without making the entire design feel fragmented. If a sink sits on one run and cooking equipment sits on the other, the corner can act as a buffer between wet and hot areas. The arrangement should still leave enough clear surface for the tasks you perform most often.
Appearance matters, but it should not be separated from maintenance. A complex corner with several joins may need more attention than a simple, well sealed transition. Rounded or softened details can be comfortable in a busy family kitchen, while a sharper profile may support a more architectural appearance. The best choice is the one that suits both the room and the way it is used.
Material selection is another reason to plan early. Laminate may suit a cost conscious renovation, stainless steel can reinforce a contemporary or commercial style, and stone surfaces can provide a more substantial finish with bespoke fabrication. The corner itself may influence the choice because slab size, join visibility, edge treatment and access all affect the finished result.
Before committing to a layout, stand in the room and trace the movement between the fridge, sink, hob and main preparation area. A corner that looks balanced on a plan can feel cramped if cabinet doors collide or if a frequently used appliance sits in the turning point. Good design leaves the corner visually calm and operationally clear.
Explore our custom quartz and granite countertops for a stunning upgrade.
Get a Free Quote
Measure the finished cabinet runs, not just the room walls, and record the corner angle, overhang, appliance positions, sink and hob cut-outs, wall irregularities and access constraints. A professional template after cabinet installation is the safest basis for a made to measure stone worktop.
Begin only after the base cabinets are installed, level and secured. Measure from the cabinet fronts and sides, then check the dimensions against the walls. Walls are rarely perfectly square, particularly in older British properties, so a wall to wall measurement alone can produce a surface that looks correct on paper but does not sit properly on the units.
Record each run separately. Note the overall length, cabinet depth, desired front overhang and the position of every joint. At the corner, take measurements from both directions and check whether the internal angle is truly square. If the corner is open, uneven or interrupted by a tall unit, the template must show that condition rather than assuming a standard angle.
Mark appliances before finalising the worktop. A sink, hob, tap hole, pop up socket or service opening can affect both the usable surface and the internal supports. Range cookers should be in position before templating, and sinks and hobs should be available so their exact dimensions and orientation can be confirmed. This avoids relying on an assumed model or a generic cut-out.
Check the overhang along the front edge and at exposed ends. Consistency usually looks more deliberate, but an end beside a doorway or seating area may need a different treatment. Also inspect the route from the entrance to the kitchen. Full slabs and shaped pieces need enough clearance through doors, staircases and tight turns. Access should be assessed before fabrication, not on fitting day.
Create a clear drawing or digital record with labels for the front edge, wall edge, corner, joins and cut-outs. Photographing the cabinet arrangement can help when discussing the design, but photographs do not replace a physical template where precision is critical. If the worktop is being fabricated from stone, professional templating is particularly valuable because the final piece is not easily altered on site.
MT Stones recommends confirming the kitchen requirements, stone selection and fitting details during consultation, then templating after the cabinets are ready. Its London based factory fabricates quartz and granite in house, allowing the corner shape, edge finish and cut-outs to be considered as part of one process.

Corner worktops can be made from laminate, compact surfaces, stainless steel, quartz, granite and other stone or engineered surfaces. The right option depends on the visual style, expected wear, moisture exposure, cleaning routine, join preference and installation method.
Stainless steel creates a clean, purposeful appearance and is often associated with professional kitchens. It can work particularly well when the corner is designed as part of a continuous preparation and washing zone. The reflective surface can make a compact kitchen feel brighter, although it also shows marks and requires a cleaning routine that suits the finish.
For a corner layout, discuss the direction of the grain, the treatment of exposed edges and the position of joins. A change in grain direction at the corner can become a strong visual feature, while a carefully coordinated finish can make the turn appear more integrated. The surface should also be assessed beside cabinet colours, splashbacks and appliances so the room does not become visually busy.
Stainless steel is practical around sinks and wet zones, but the corner still needs sound cabinet support and accurate fabrication. Plan tap holes, sink details and appliance clearances before ordering. The surface is not a solution for poor cabinet alignment, and a precise template remains important when the corner includes several openings or changes in direction.
Use a sample in the actual kitchen light before deciding. A polished finish and a brushed finish can create very different impressions, and both may reveal everyday marks differently. A corner with a calmer surrounding palette will usually let the material provide interest without overwhelming the room.
Laminate worktops are made with a chipboard core and a printed resin surface. This construction gives homeowners a broad choice of colours and patterns while keeping the surface accessible for many renovation budgets. It can be a sensible option where the main goal is a coordinated, practical kitchen without the fabrication requirements of a heavy stone slab.
Laminate worktops are also available in various lengths, profiles and thicknesses. That range can support bespoke corner layouts, from a compact panel in a smaller kitchen to longer options reaching up to 3.6 m. The important point is to select a panel size and join position that suit the room rather than forcing the corner into an awkward location.
The printed surface can imitate different visual effects, but the edge treatment deserves equal attention. A matching edge, a square profile or a shaped edge changes how the corner reads from the room. Discuss how the pattern meets at a join, especially if the design has a strong directional print. A quiet pattern is generally more forgiving around a corner than a highly directional one.
Compact surfaces offer another option where moisture resistance is a major concern. They have a dense core that prevents water ingress, making them suitable for fitting in washing areas. Even so, joints, cut-outs and the cabinet beneath must be handled carefully. Moisture resistant does not mean that installation details can be ignored.
Laminate is not automatically the right choice for every cooking habit. Protect the surface from direct heat, avoid cutting directly on it and wipe spills around joins promptly. If you want a stone appearance with a fabricated edge and a highly individual corner, compare the full installed design rather than judging a small sample alone.

Quartz and granite can help when a corner requires a durable, made to measure surface with carefully planned joins, cut-outs and edge details. Their value is greatest when accurate templating, suitable support and professional fabrication are treated as essential parts of the design.
A stone corner can give an L-shaped kitchen a strong sense of continuity. Quartz offers a wide range of colours and patterns, while granite brings the variation of natural stone. The decision should be based on the whole room: cabinet colour, splashback, lighting, edge profile and the amount of visual movement you want around the corner.
The corner is where fabrication skill becomes visible. A professional template can record uneven walls, cabinet transitions and the intended position of joins before the slab is cut. It also allows the sink, hob and tap openings to be coordinated with the surface rather than treated as later adjustments. This matters particularly when an exposed end or shaped return is part of the design.
Quartz and granite still need sensible use. Clean both surfaces daily with warm soapy water, using a soft cloth and non-abrasive methods. A pH neutral soap, warm water and a soft microfibre cloth are also recommended in a care guide from SlabWise. For stuck on food, a plastic scraper is preferable to a metal blade because it reduces the risk of scratching.
Heat protection should be part of the kitchen routine. Hot cooking vessels should not be placed directly on quartz or granite. Use a heat pad, carving board or another suitable barrier, particularly beside the hob and at the corner where a pan may be set down during preparation.
Support matters as well. The maximum permissible load is 50 kg when the worktop is appropriately supported, so heavy appliances, seating pressure and concentrated loads should be discussed during design. This is especially relevant at a corner, around a cut-out or near an overhang, where support conditions may change.
Quartz generally avoids periodic sealing, while SlabWise says granite typically needs sealing every one to three years. The Federation of Master Builders describes granite as not very porous but still recommends sealing natural stone to help prevent stains. It advises using a specialist sealer suitable for food preparation areas, with resealing aimed at about once a year. Follow the care guidance for the selected surface and installation.
Spills deserve prompt attention. The Federation of Master Builders warns that acidic foods and drinks, including vinegar, fruit juice, coffee, tomato sauce and red wine, can stain or etch stone worktops if they are not wiped up quickly. This is practical advice for any corner because the join and wall edge can collect residue if cleaning is delayed.
For homeowners renovating in London and surrounding areas, MT Stones approaches the corner as part of a complete quartz or granite worktop design. Its process includes consultation, templating, in house fabrication and fitting, so the intended corner shape can be reviewed before manufacture. That does not remove the need for clear decisions from the homeowner, but it gives the project a defined route from cabinet readiness to finished surface.
The most useful final check is to view the proposed corner at working height and in the room’s natural light. Confirm where you will stand to prepare food, where appliances will sit and how the join will be seen from the doorway. A technically possible corner is not always the most comfortable corner. The best design balances visual calm, safe support, easy care and the practical rhythm of the kitchen.
Explore our custom quartz and granite countertops for a stunning upgrade.
Get a Free Quote